
Saved Collections
Save Collections to Wishlist
Overview
The Save Collections to Wishlist feature allows your customers to bookmark entire product collections with a single click, making it easy for them to return to categories, ranges, or curated groupings they're interested in. Saved collections appear in the wishlist drawer alongside individual saved products, and work seamlessly with Shopify Flow for marketing automation.
This feature is available on the Trade plan.
Enabling Saved Collections
Log in to your Store's Admin.
Navigate to Apps > Fish Wishlist > Settings.
Under "Wishlist Features", toggle on "Saved Collections".
This option is only available if your store is on the Trade plan.
A code snippet will appear—copy this to add the button to your collection templates (see Installation below).
Installation: Adding the Button to Collection Pages
Once you've enabled the feature in settings:
Code Snippet
Use this code snippet to add the save button anywhere on your site:
<wishlist-button-collection role="button" class="fish-wishlist-button--collection fish-wishlist-button--secondary button" data-collection-handle="{{ collection.handle }}" data-is-added="false"></wishlist-button-collection>
Option 1: Add to All Collection Pages
To display the save button on every collection page across your store:
Edit your collection page template in Shopify:
Go to Sales channels > Online Store > Themes.
Click Edit code on your active theme.
Find your default collection template file (typically
collection.liquidorcollection.default.liquid).
Paste the code snippet where you want the button to appear (e.g., near the collection title or above the product grid).
Save and publish your changes.
Option 2: Add to Specific Collection Templates
To display the button only on certain collection pages (for example, top-level collections or brand pages):
Create or edit a custom collection template in your theme:
Go to Sales channels > Online Store > Themes > Edit code.
In the Templates folder, create a new file:
collection.[name].liquid(e.g.,collection.brands.liquidfor a "Brands" collection).Alternatively, use an existing custom template if your theme already has one.
Paste the button code in the template where you want it to appear.
Assign the template to specific collections:
Go to Products > Collections in your admin.
Open the collection you want to use this template.
In the Template section, select your custom template from the dropdown.
Save the collection.
This approach lets you control exactly which collections display the save button.
Option 3: Embed on Other Pages (Collections Directory, Shop by Brand, etc.)
You can add the save button to any page throughout your site, not just individual collection pages. Common examples:
Collections directory or listing page – Show buttons next to each collection in a grid or list
Shop by brand page – Display buttons for each brand collection
Custom landing pages – Embed buttons for featured collections
Menu or navigation items – Add save functionality to collection links
To do this:
Edit the template or page where you want the button to appear.
Use the button code with the correct collection handle:
<wishlist-button-collection role="button" class="fish-wishlist-button--collection fish-wishlist-button--secondary button" data-collection-handle="your-collection-handle" data-is-added="false"></wishlist-button-collection>Replace
your-collection-handlewith the actual collection handle (e.g.,organic-coffee,summer-brands,clearance).Find a collection's handle:
Go to Products > Collections in your admin.
Open the collection.
Look for the Handle field (usually at the bottom of the page) or check the collection URL.
For dynamic content (e.g., a loop of collections), use Liquid variables:
{% for collection in collections %}
  <wishlist-button-collection role="button" class="fish-wishlist-button--collection fish-wishlist-button--secondary button" data-collection-handle="{{ collection.handle }}" data-is-added="false"></wishlist-button-collection>
{% endfor %}
Customization
Button Text & Labels
You can customize button text through Language Settings in the Fish Wishlist app:
Default: "Save collection" (unsaved state) / "Saved" (saved state)
Edit these keys to match your brand voice or language preferences.
Button Styling
The button uses the same CSS classes as the product wishlist button, so it inherits your existing custom styles automatically:
Class structure:
.fish-wishlist-button--collection,.fish-wishlist-button--secondary,.buttonOverride styles in your theme's CSS to match your store's design.
Managing Customer Saved Collections
View in Admin
Go to Customers and select a customer profile.
Scroll to the Metafields section.
Look for "Saved Collections" (metafield key:
WLC) to see all collections they've saved.
Edit Saved Collections (Admin)
Open a customer's profile.
In the Metafields section, you can directly add or remove collection references.
Changes sync immediately to the customer's wishlist drawer.
Marketing Automation with Shopify Flow
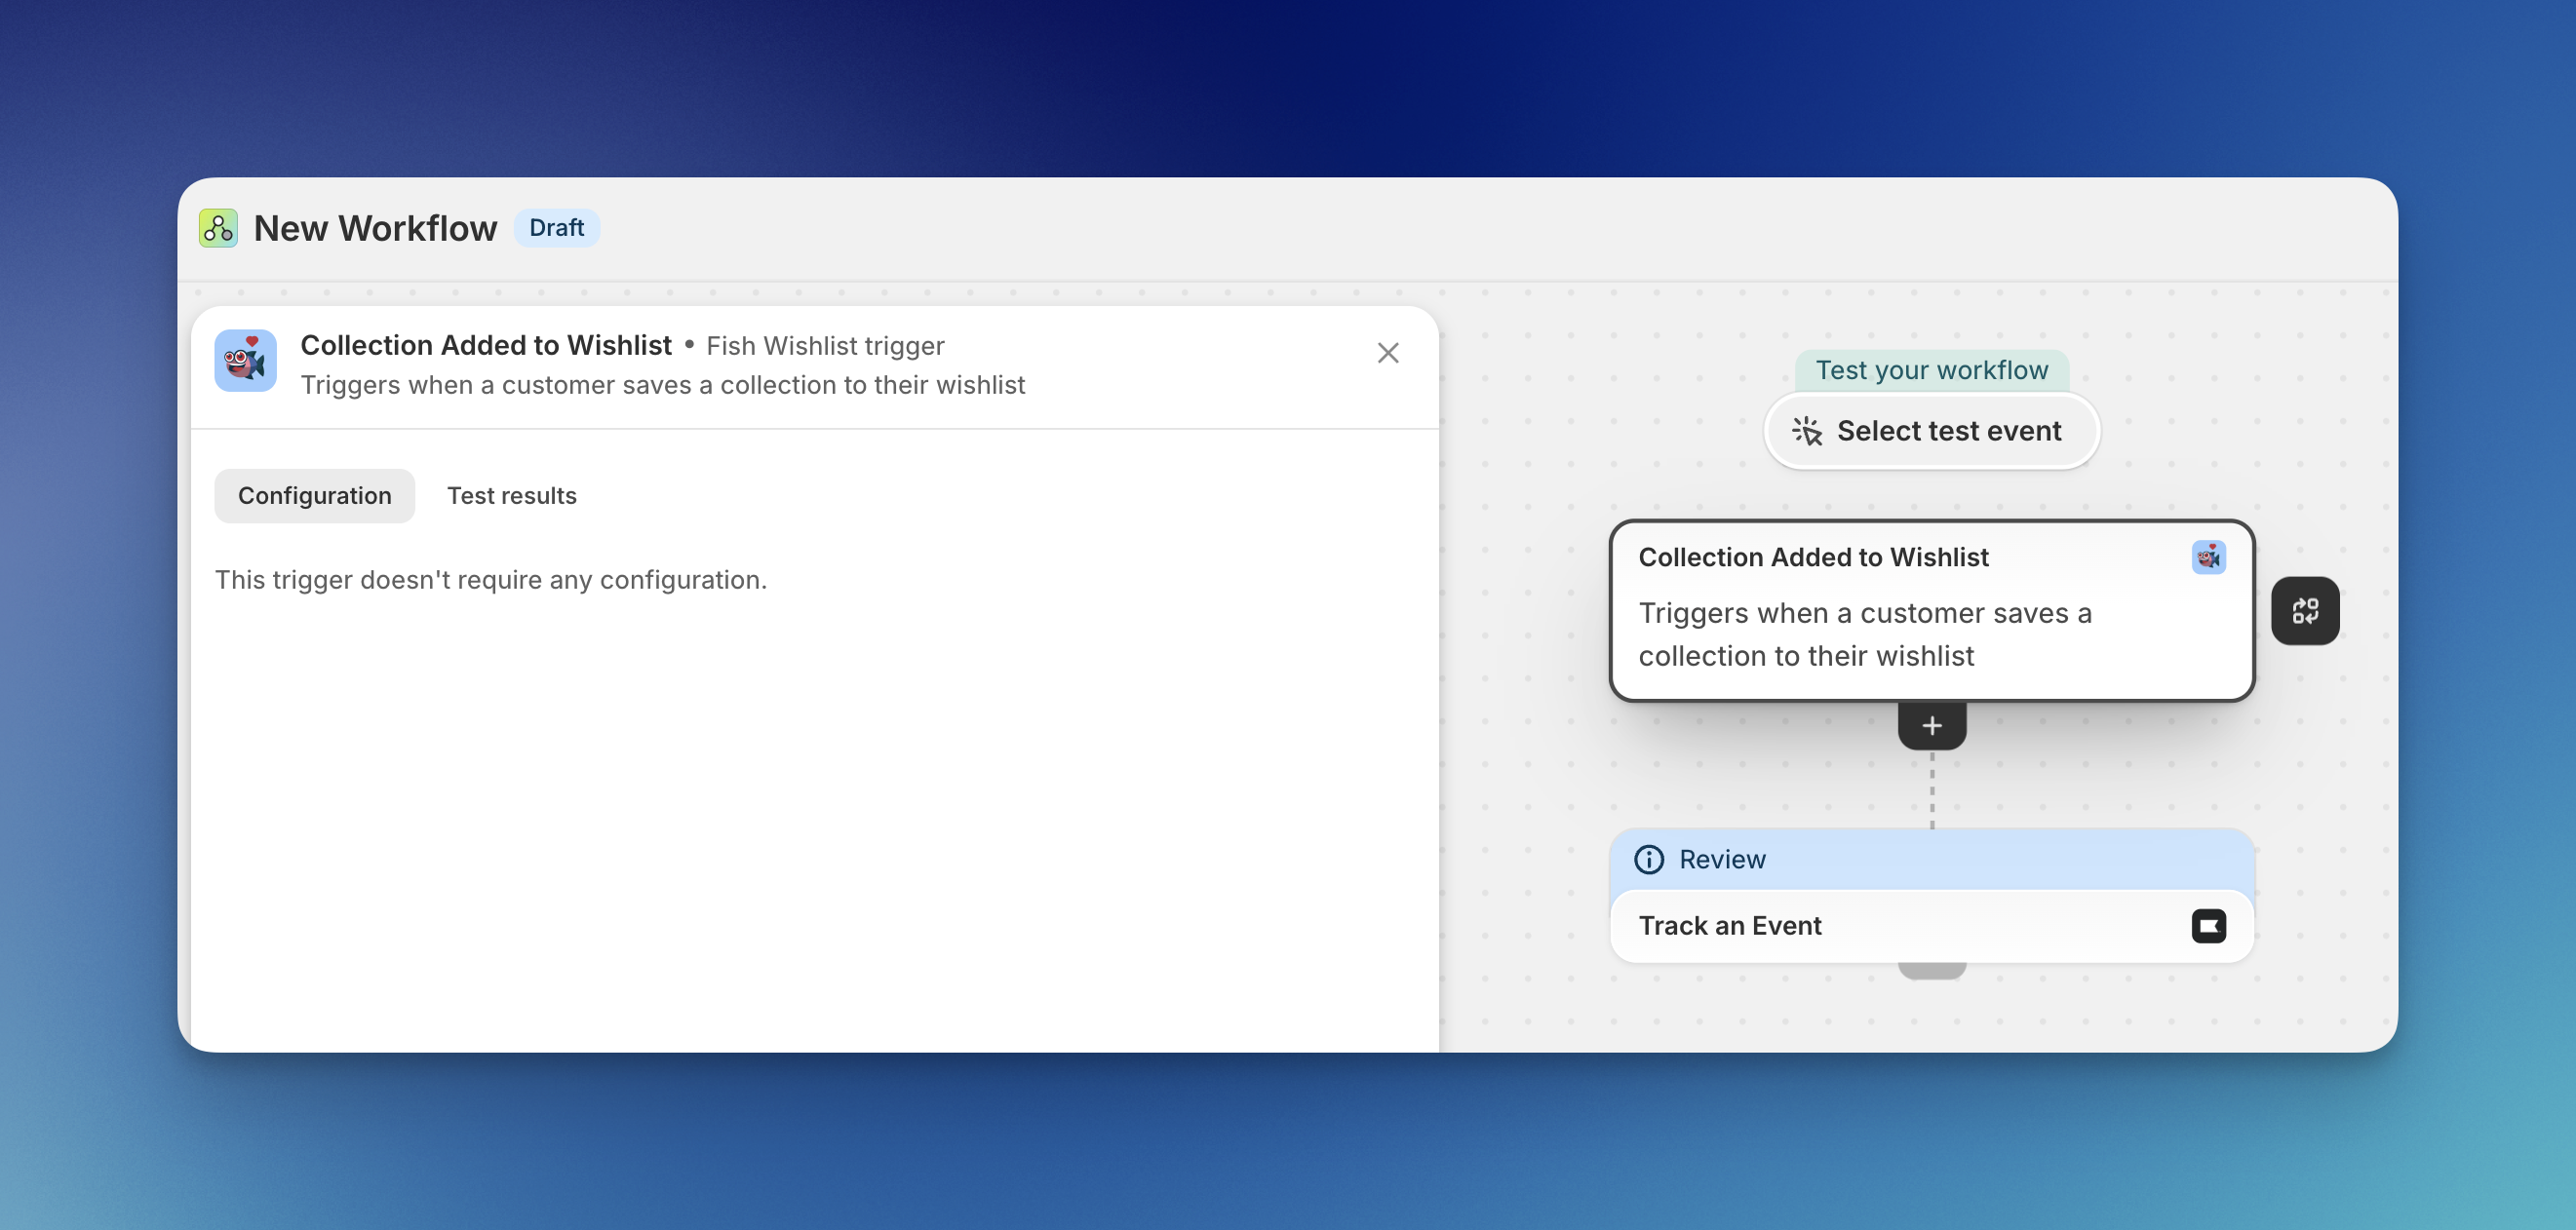
The Save Collections feature integrates with Shopify Flow, enabling you to automate marketing campaigns based on collection-saving behavior.
Available Triggers
Two new Flow triggers are available:
Collection added to wishlist – Fires when a customer saves a collection
Collection removed from wishlist – Fires when a customer removes a collection
Example Workflows
Send a "Thanks for Saving!" Email
In Shopify Flow, create a new workflow.
Trigger: "Collection added to wishlist"
Action: Send an email (via native Flow email or connected platforms like Klaviyo, Mailchimp, etc.)
Message: "Thanks for saving [Collection Name]! Here's 10% off your first order from this collection."
Sync to Email Marketing Platform
Trigger: "Collection added to wishlist"
Connect to Klaviyo (or similar platform via Zapier/native integration)
Action: Add customer to a segment (e.g., "Collection Savers - [Collection Name]")
Use this segment for targeted campaigns.
Track Collection Engagement
Trigger: "Collection added to wishlist" or "Collection removed from wishlist"
Connect to an analytics tool via Zapier or Flow integrations
Track which collections are most-saved to inform inventory and marketing decisions.
Trigger Payload Information
Each trigger includes:
Collection ID – Unique identifier for the collection
Collection Title – Display name of the collection
Collection Handle – URL-friendly version of the collection name
Customer ID – Unique identifier for the customer
Timestamp – When the action occurred
Use this data to personalize workflows and ensure accurate tracking.
Frequently Asked Questions
Q: Does my store need to do anything special to enable this feature?
A: Your store must be on the Trade plan. Once on the Trade plan, enable the feature in Fish Wishlist Settings and add the button code to your collection pages or other locations. No additional configuration is needed.
Q: Can I add the button only to specific collections, not all of them?
A: Yes. Create a custom collection template and assign it only to the collections where you want the button to appear (see Option 2: Add to Specific Collection Templates above).
Q: Can I add the button outside of collection pages?
A: Yes. You can embed the button on any page—collections directories, brand listing pages, landing pages, or anywhere else. Just use the button code with the correct collection handle (see Option 3 above).
Q: Can I customize the button appearance?
A: Yes. The button uses standard CSS classes that inherit your theme's styles. You can override styles in your theme's CSS to match your design.
Q: How do I use Flow triggers to send emails when customers save collections?
A: See the Marketing Automation with Shopify Flow section above for step-by-step examples.
Support & Troubleshooting
Button isn't appearing on collection pages?
Verify you've enabled the feature in Fish Wishlist Settings.
Check that you've added the code snippet to your collection template.
Ensure your store is on the Trade plan.
Saved collections not showing in the wishlist drawer?
Clear your browser cache and refresh the page.
Ask the customer to log out and log back in.
Check that they're logged into the correct account.
Can't edit the "Saved Collections" metafield as admin?
Ensure you have permission to view and edit customer metafields in your Shopify admin.
The metafield should be editable directly from the customer profile's metafields section.
Button shows on wrong pages or with incorrect collections?
Double-check the
data-collection-handlevalue in your button code.Verify the collection handle matches the exact collection name in your admin.
If using a loop, ensure your Liquid variable is correctly referencing the collection object.
For additional support, please email [email protected]